Sensei GUI Overview
This section will walk through the main parts of the GUI and how we can use them. For more detailed information, please visit GUI Reference.
Contents
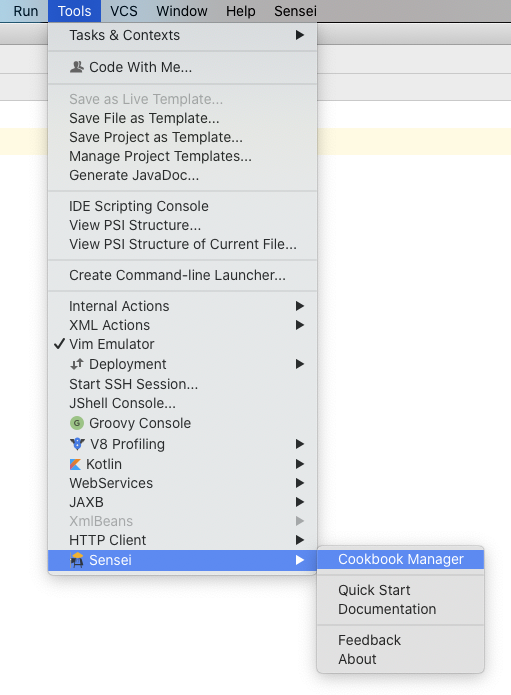
Cookbook Manager
The Cookbook Manager tool window, which can be opened from the Sensei Menu, lists all the cookbooks that you have available.
This tool window also allows us to add, remove and edit cookbooks.
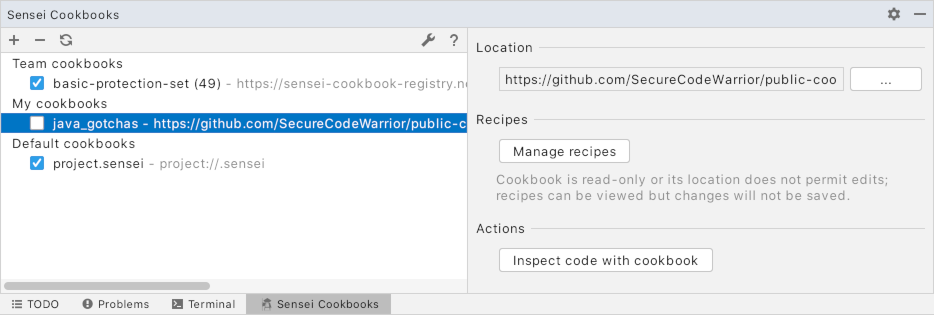
The checkboxes in the list can switch cookbooks on and off.
Manage Recipes
Recipes in the project's .sensei folder have been automatically loaded.
You can manage them to see what recipes are available by clicking the Manage recipes button.
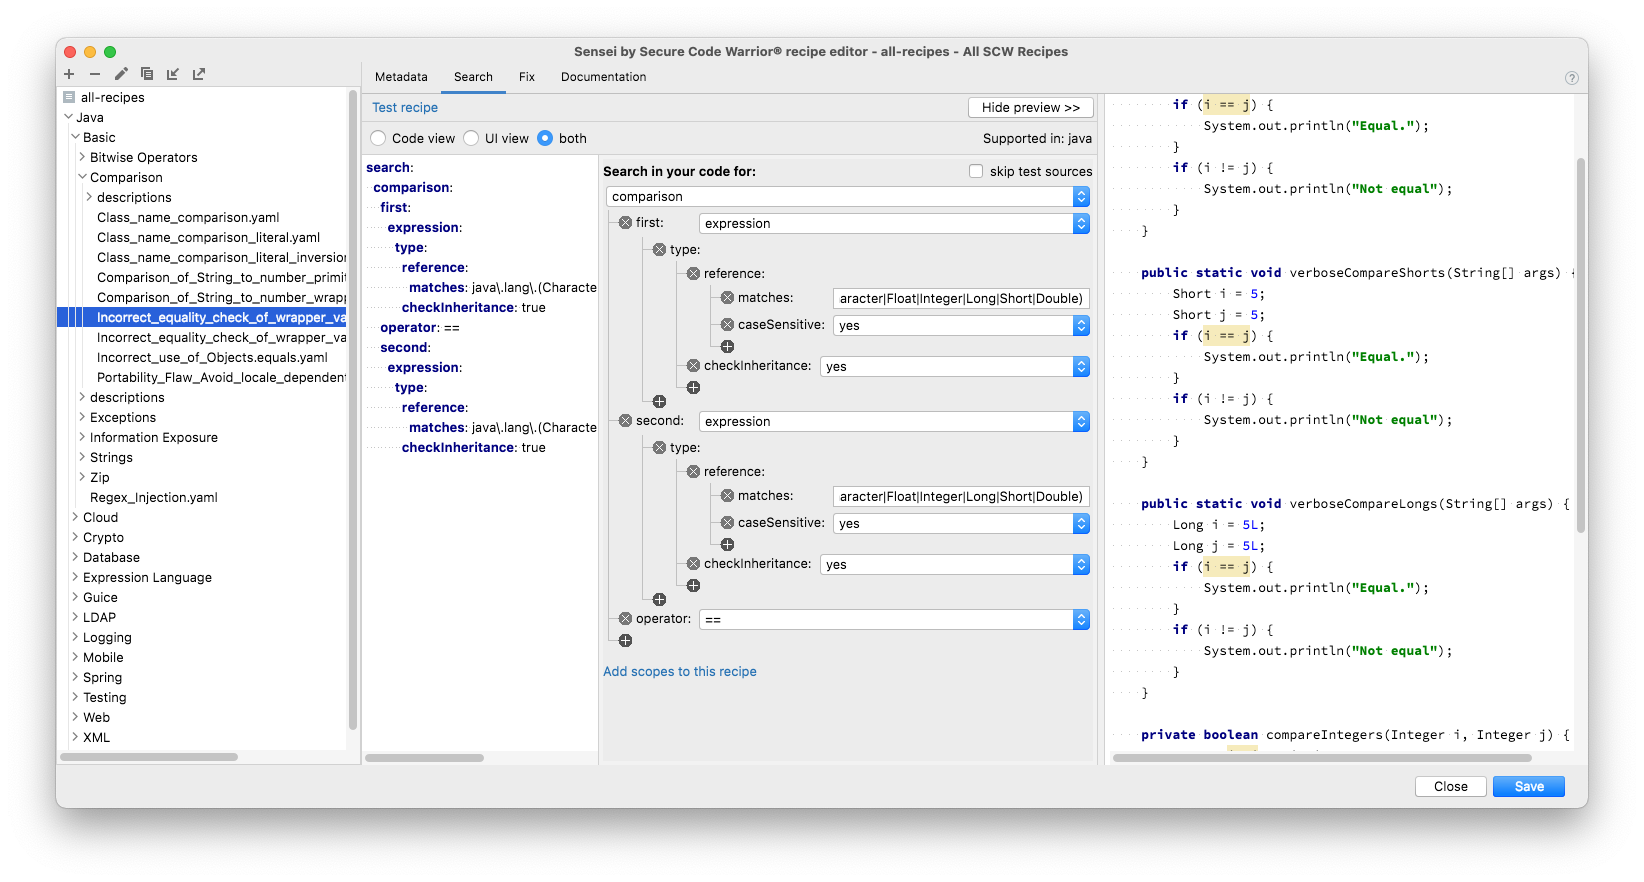
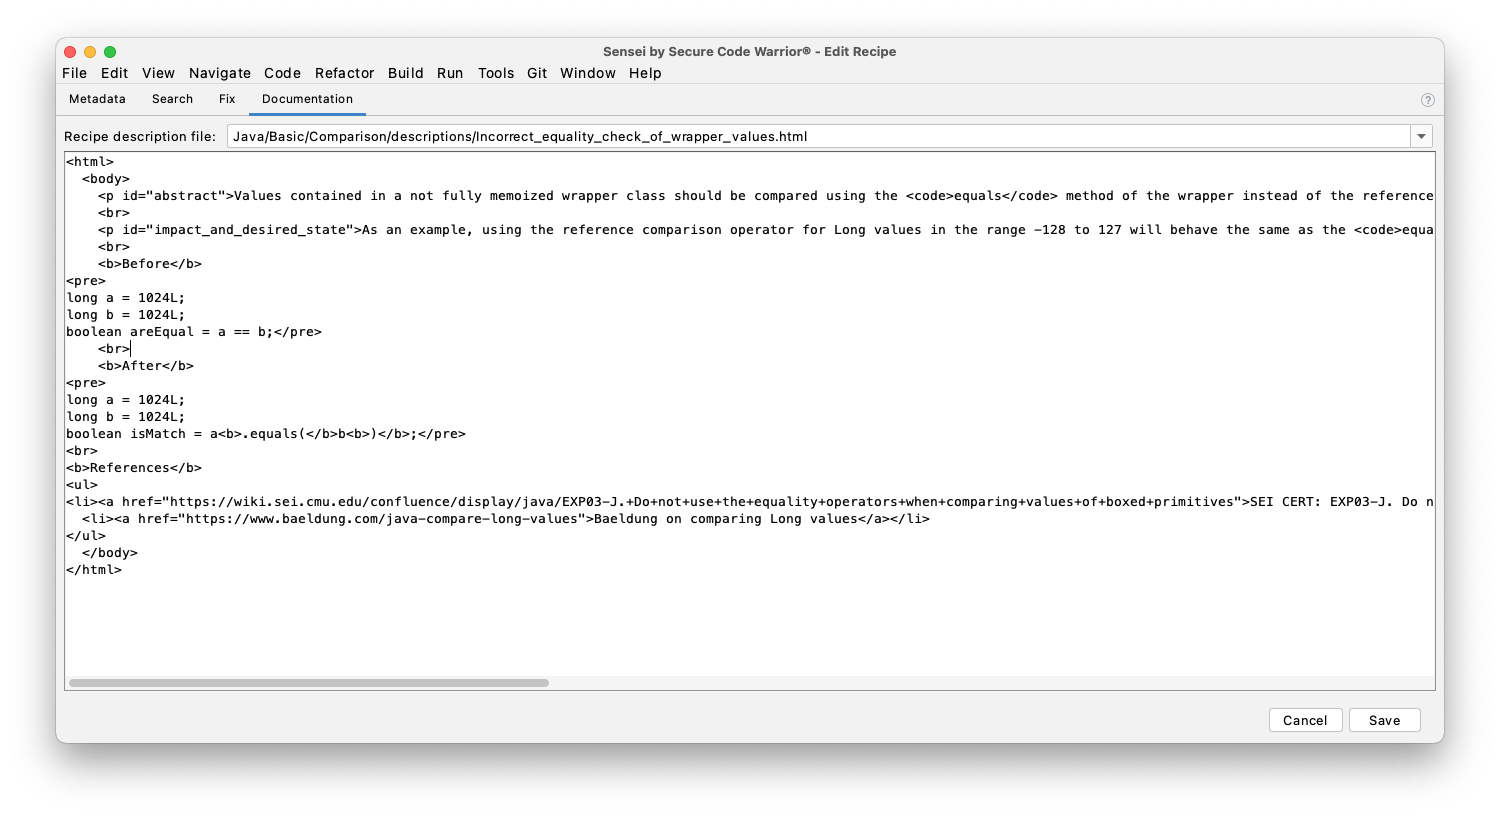
Recipe Editor
The Recipe Editor has five main components.
The list of recipes where we can add, delete, and duplicate recipes
The Metadata tab where we can configure the recipe
Search tab where we create the search and matching conditions
Fix tab where we configure the Quick Fix changes to amend or generate code
A documentation tab where additional information about the recipe can be stored
List of Recipes
The list of recipes on the left side of the recipe editor provides an overview of which recipes are present in the cookbook that we are currently editing. At the top of the list several controls are present to add, remove, duplicate, import and export recipes. The list itself displays any folders present in the cookbook along with the recipes present in those folders.
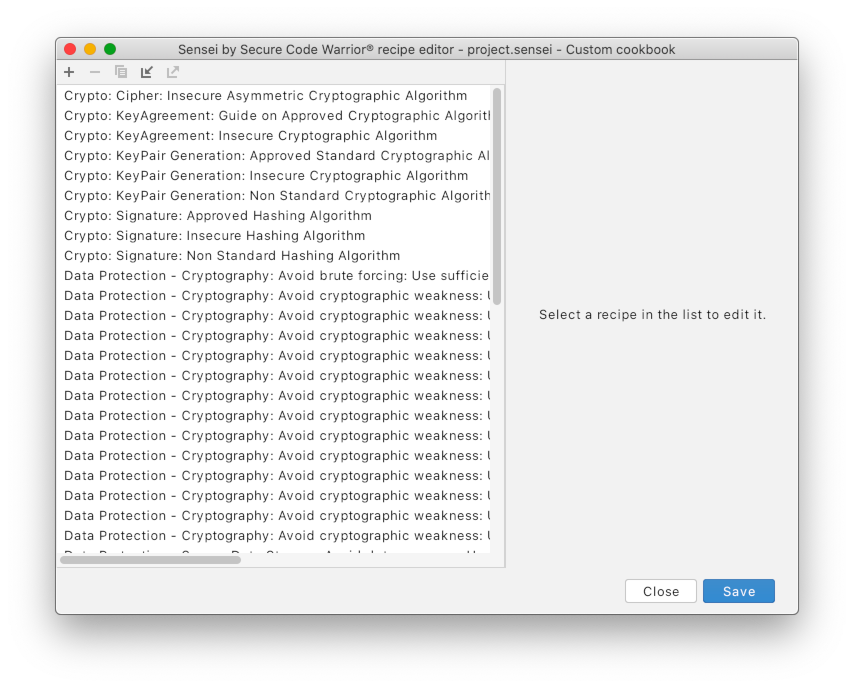
By clicking on a Recipe, you can edit it.
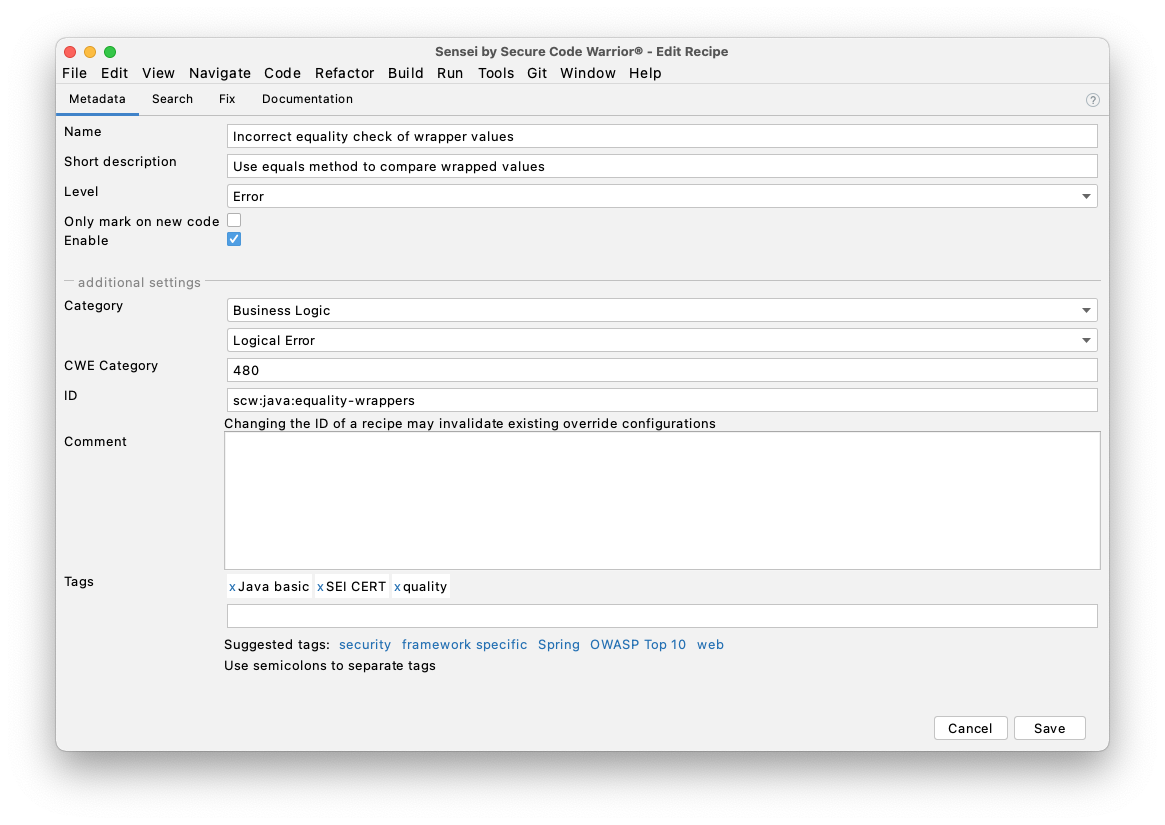
Metadata tab
The metadata tab is where we primarily configure the:
Name and Description, which are shown in the contextual popup when we hover the mouse over a violation in the code.
Level, which defines how the matching Recipe is rendered in the IDE
If you configure a recipe as ‘Error’ then the code will typically have a red underline and show as a syntax error, but a Warning will have a light highlighting. Sensei will use the highlighting properties of the IntelliJ 'Error'/'Warning'/'Info' levels by default.
There are other settings but these are for more advanced use and will be covered later in the documentation.
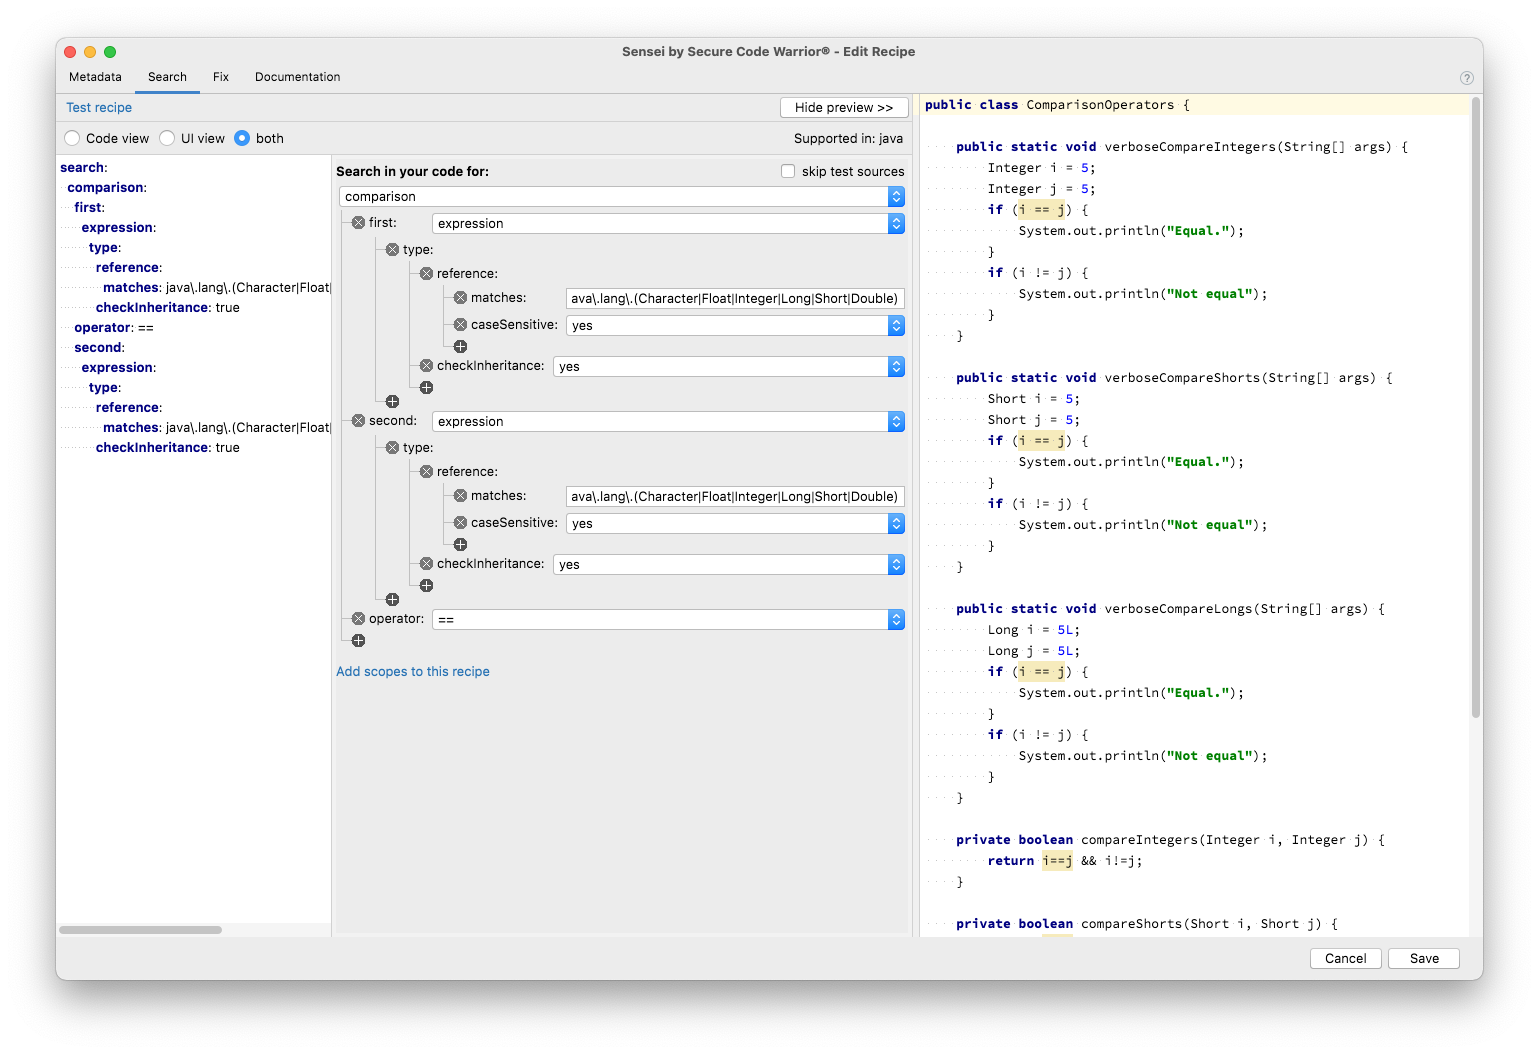
Search tab
The search tab contains the search configuration. This is the search we perform in the code to match coding patterns.
In this example the search looks for uses of the equals operator ==. The matches are highlighted in the code itself.
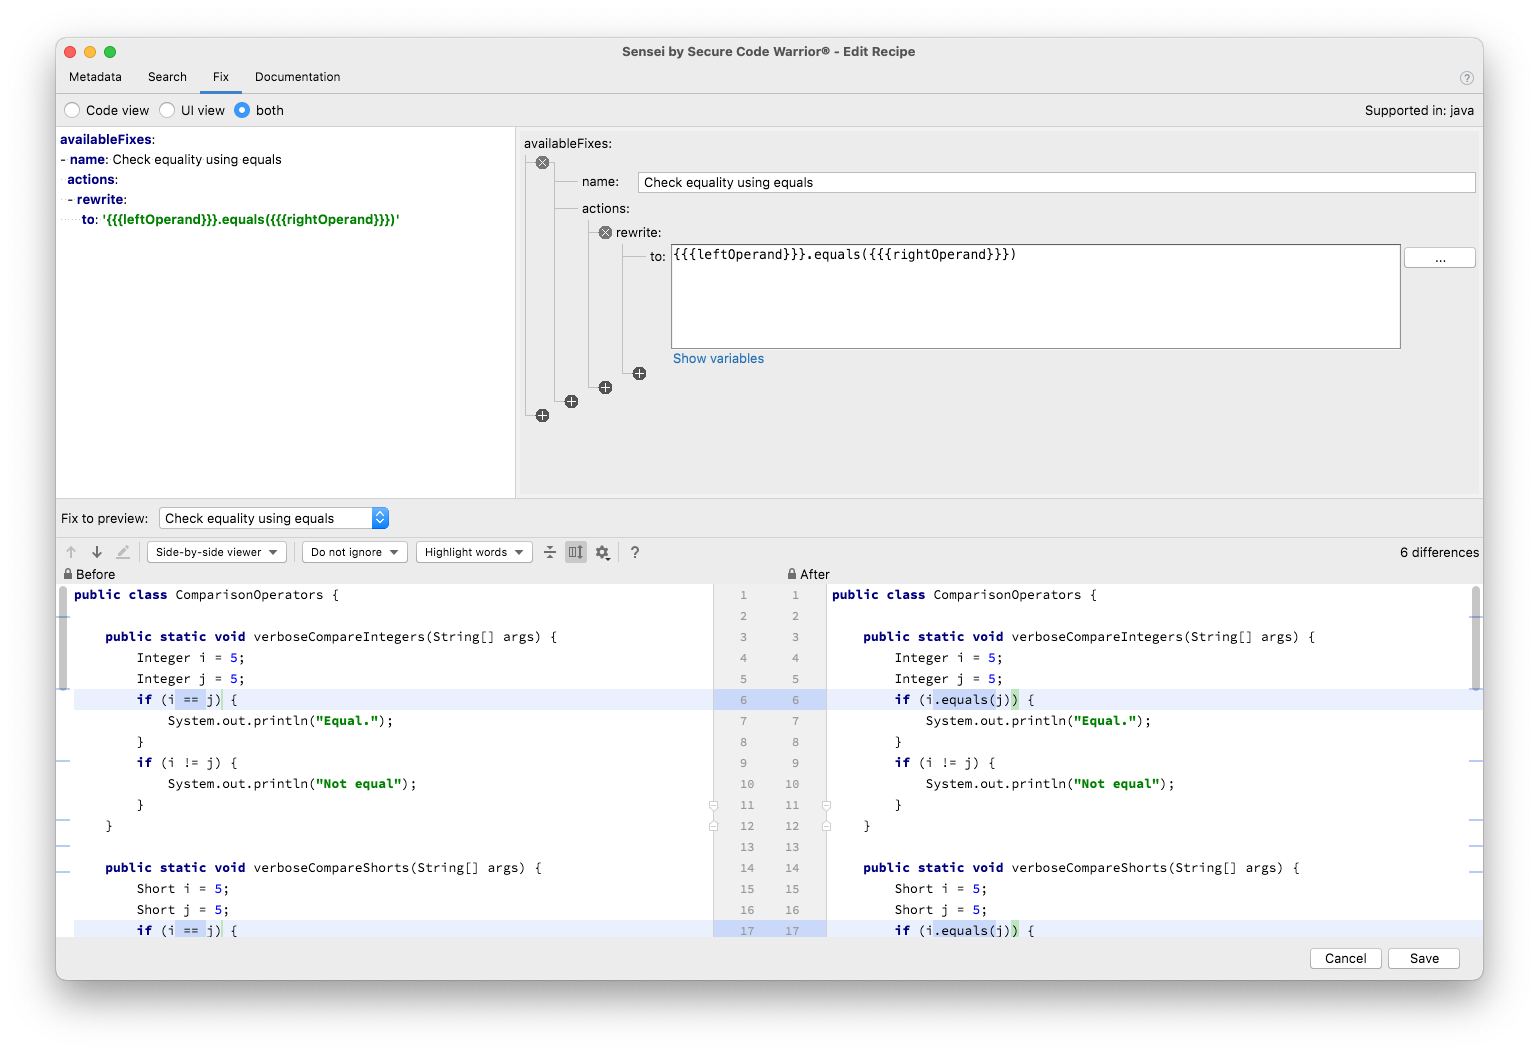
Fix tab
The fix tab contains the configuration for the Quick Fixes. These are shown in IntelliJ when you use Alt+Enter or ⌘↵ to fix the problem.
And you can see at the bottom of the screen a diff view that shows the results of applying a Quick Fix.
The recipe shown in the screenshot rewrites the operator we matched in the search tab to equals. It reuses both the left and right operands of the matched operator using moustache syntax. Which variables are available to insert can be seen by clicking Show variables. The diff view shows the before and after state in the code.
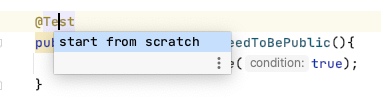
Creating a Recipe
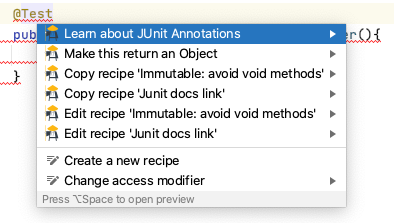
In the code, at the point you want to start a search, pressing Alt+Enter or ⌘↵ shows the context menu that has the option.
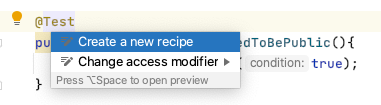
Often we ‘start from scratch’ with an empty recipe.
A recipe can also be created by clicking the + button in the Recipe Editor.
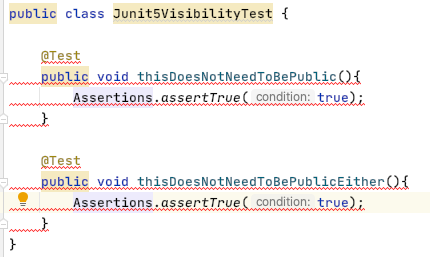
Spotting Issues in the IDE
In the Code
When recipes have been activated, they will be marked in the editor.
The following code shows some ‘errors’ and some ‘warnings’ have been found in the code.
Note
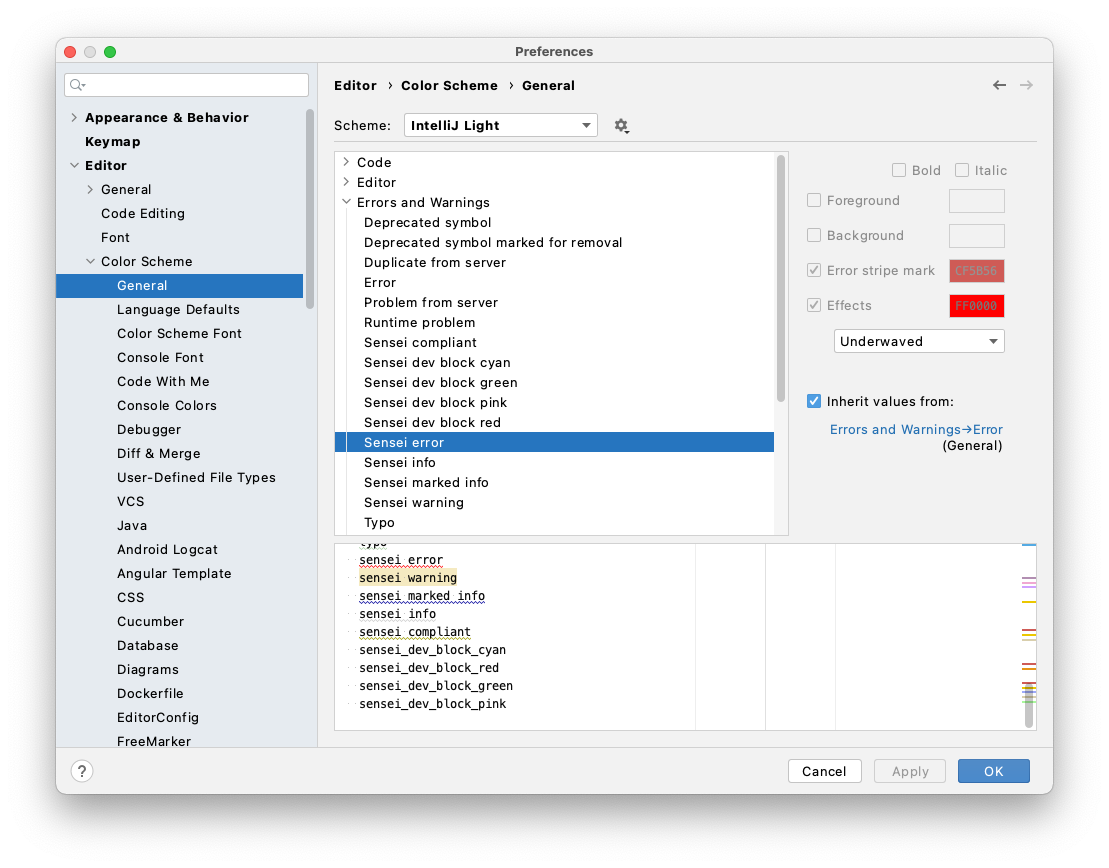
You can customize the color scheme for Sensei markings by navigating to Preferences > Editor > Color Scheme > General and editing the color schemes under Errors and Warnings in the tree view.
Problem Icons
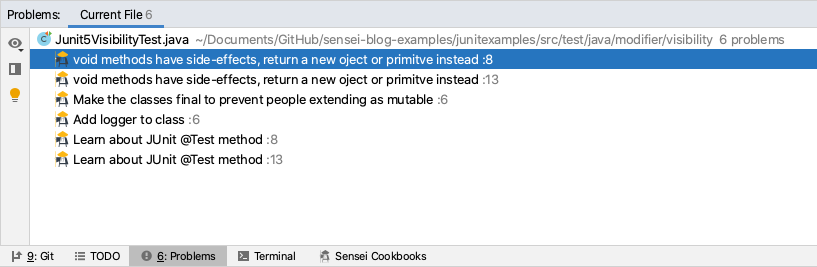
Issues will also be shown with the Sensei problem icons in the top right corner.
![]()
You can click here to fix the problem via the Problems tab.
Applying a Quick Fix
There are many ways to apply a Quick Fix.
Using the Problems Tab
In the Problems Tab, right click on the reported problem and choose “Show Quick Fixes”
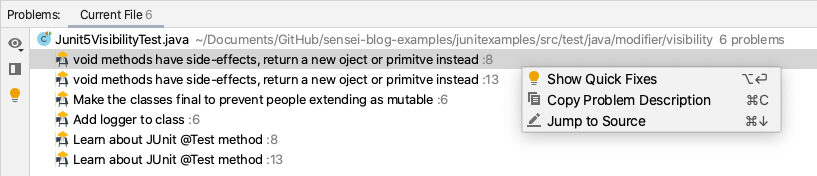
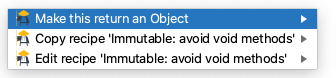
Then, choose the quick fix from the list.
Contextual Fix
The most common way to fix code is with Alt+Enter or ⌘↵ where we will see any IntelliJ suggestions and Sensei quick fixes.
And if you choose the action then the code will be amended.
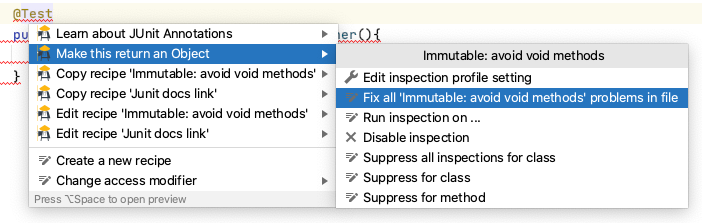
Fixing Multiple Occurrences
If there are multiple occurrences of an issue in the same file, then you can fix them all at once.
Position the caret on one of the issues to be fixed
Press Alt+Enter or ⌘↵ to bring up the Quick Fix pop-up
Navigate to the next menu level down on the Quick Fix
Use the option