Manual
Sensei can also be run from a headless environment, this is useful when Sensei has to be integrated inside the build pipeline. To do this Sensei runs in the IntelliJ headless mode.
How to run IntelliJ from the command line can be found on the JetBrains documentation.
Usage
Before running, make sure that the IntelliJ instance that will be used has the Sensei plugin installed, has the neccesary cookbooks configured and has an inspection profile that includes the recipes. All of these things can be done from within IntelliJ.
Note
The project://.sensei location is checked and loaded if it contains a cookbook.
If all the requirements are met, the headless scan can be started by using following command:
idea inspect /path/to/target/project /path/to/inspection/xml/file path/to/result/output/folder
Getting an inspection profile
The headless scan requires an inspection profile, this is a file that keeps information on what inspections are enabled, the scope of the analysis and the severity. IntelliJ uses these to know what analysis it has to run.
By default every IntelliJ project has a project default inspection profile
(project_folder/.idea/inspectionProfiles/Project_Default.xml). This profile will contain all
inspections that are active for said project, including the Sensei recipes (because they are
loaded as inspections).
When running the headless scanner with this profile, it will include results for the standard IntelliJ inspections. A separate profile can be created to disable all standard inspections and limit the scan to just Sensei recipes.
Creating a Sensei only inspection profile
Creating a new inspection profile with only Sensei inspections can be done in IntelliJ IDEA | Preferences | Editor | Inspections (macOS) or File | Settings | Editor | Inspections (Windows and Linux).
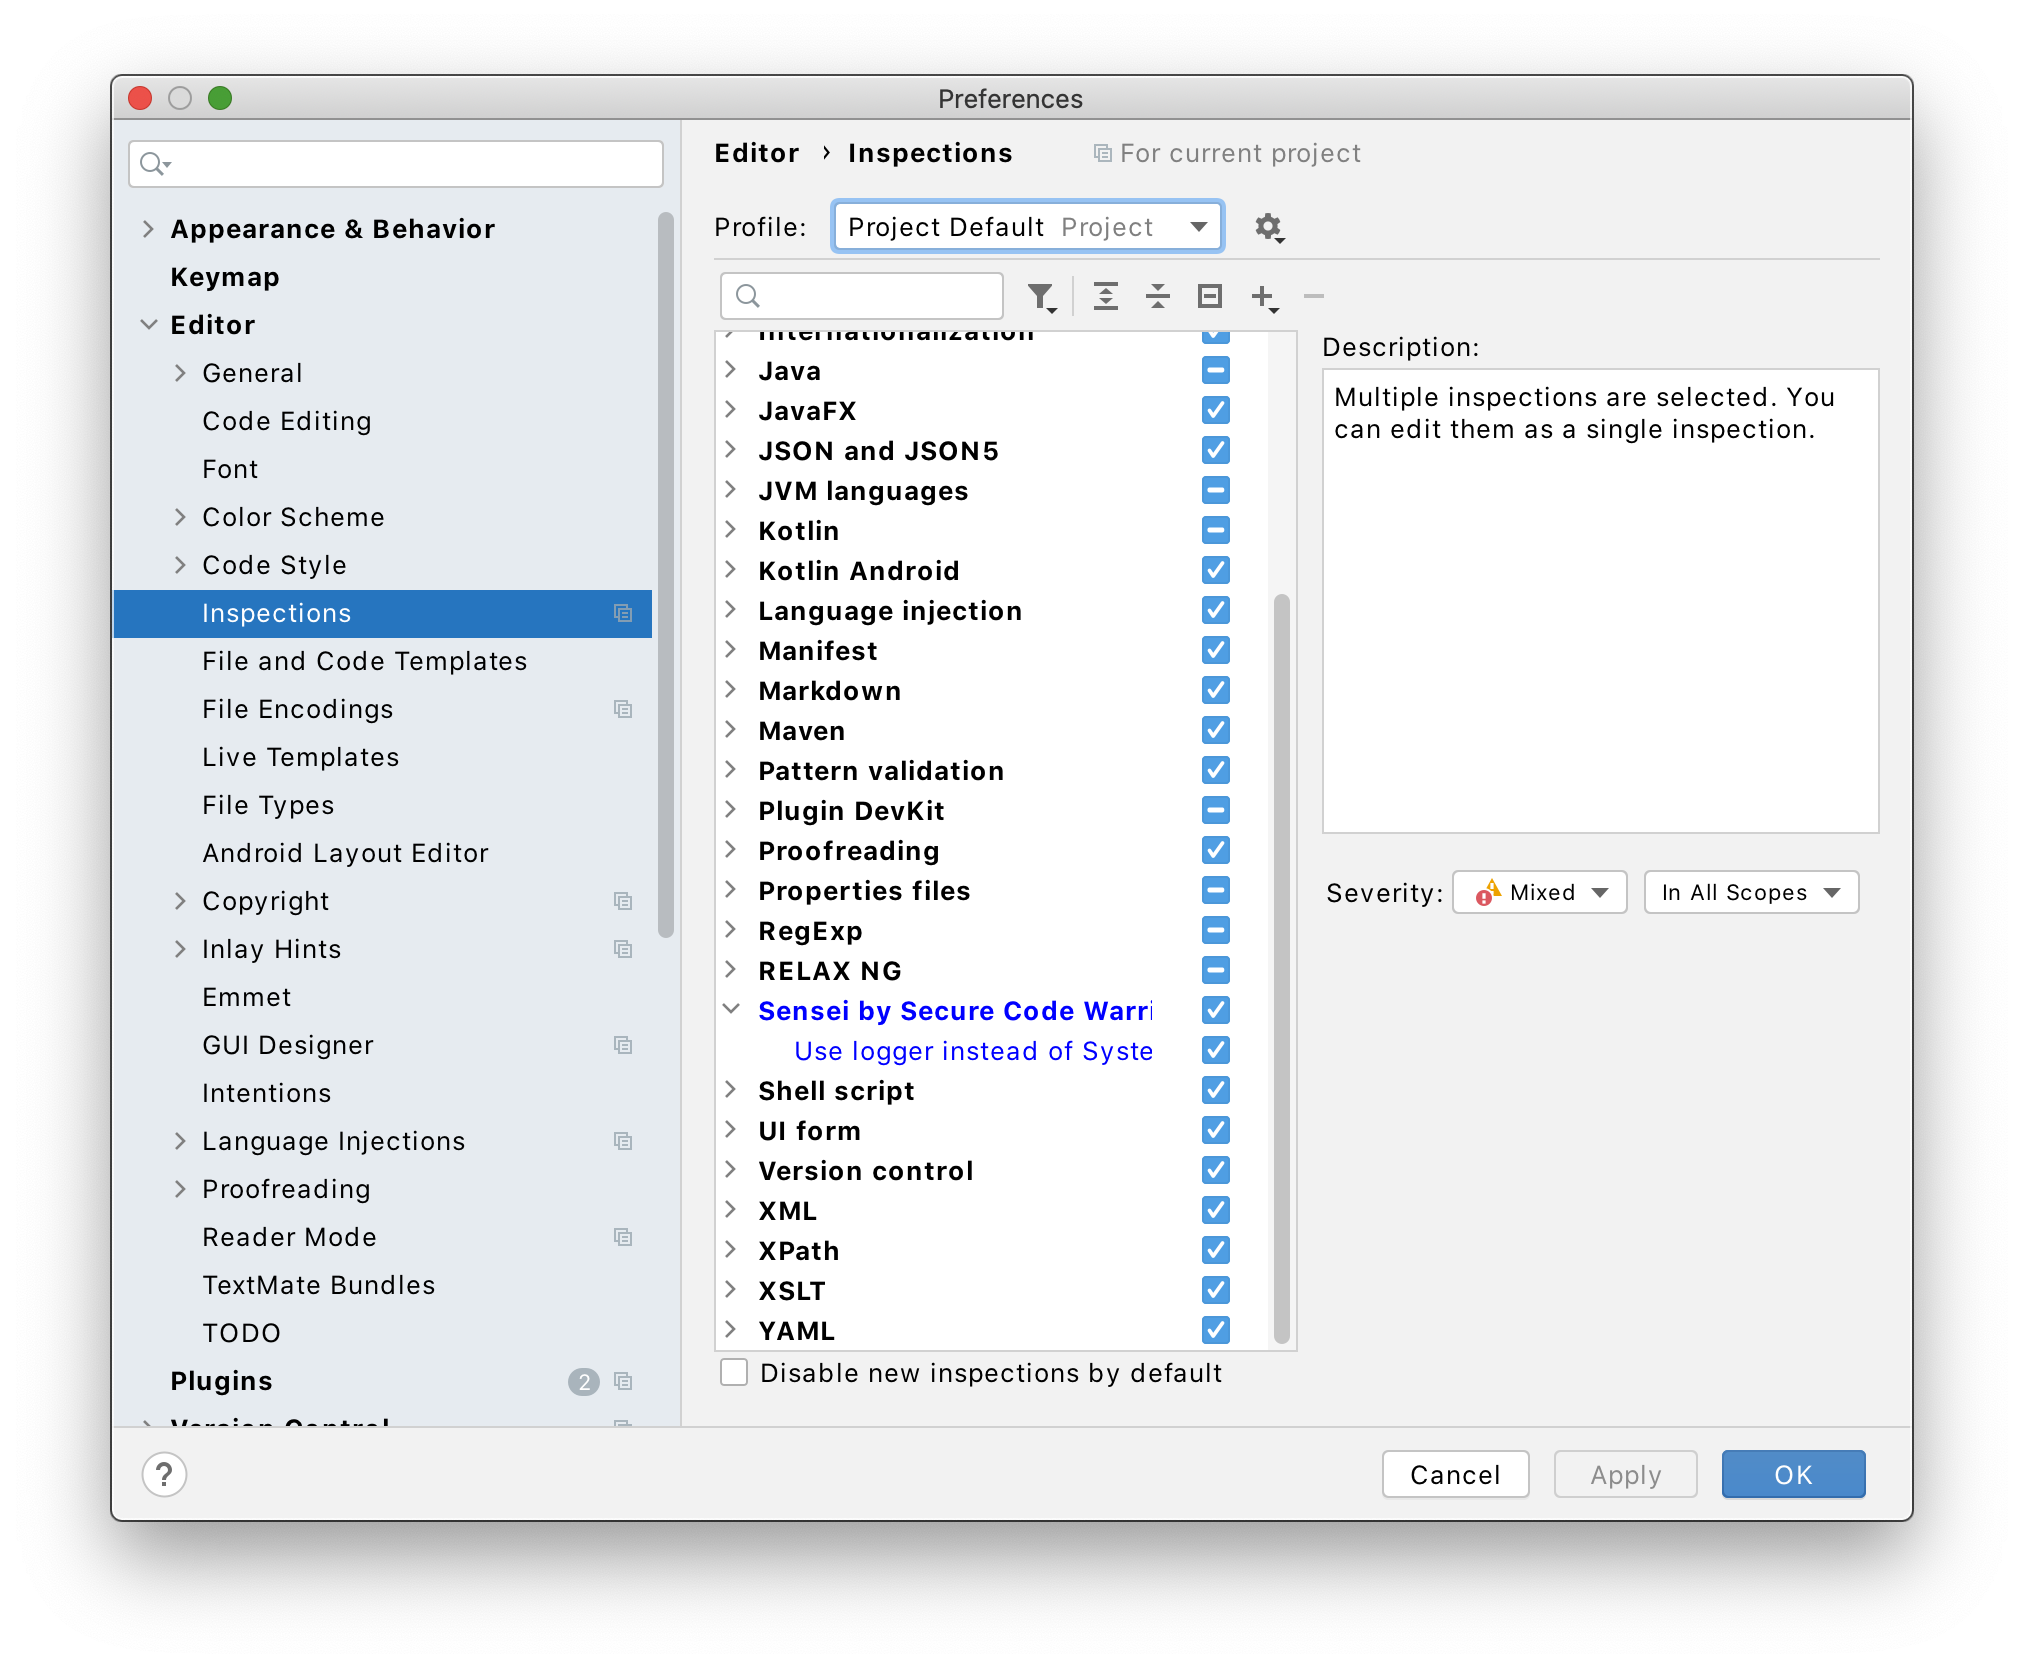
Duplicate the Project Default profile: press the cog wheel icon and click .
Once duplicated, disable all the other inspections whilst leaving the ones under
Sensei by Secure Code Warrior|trademark| enabled.
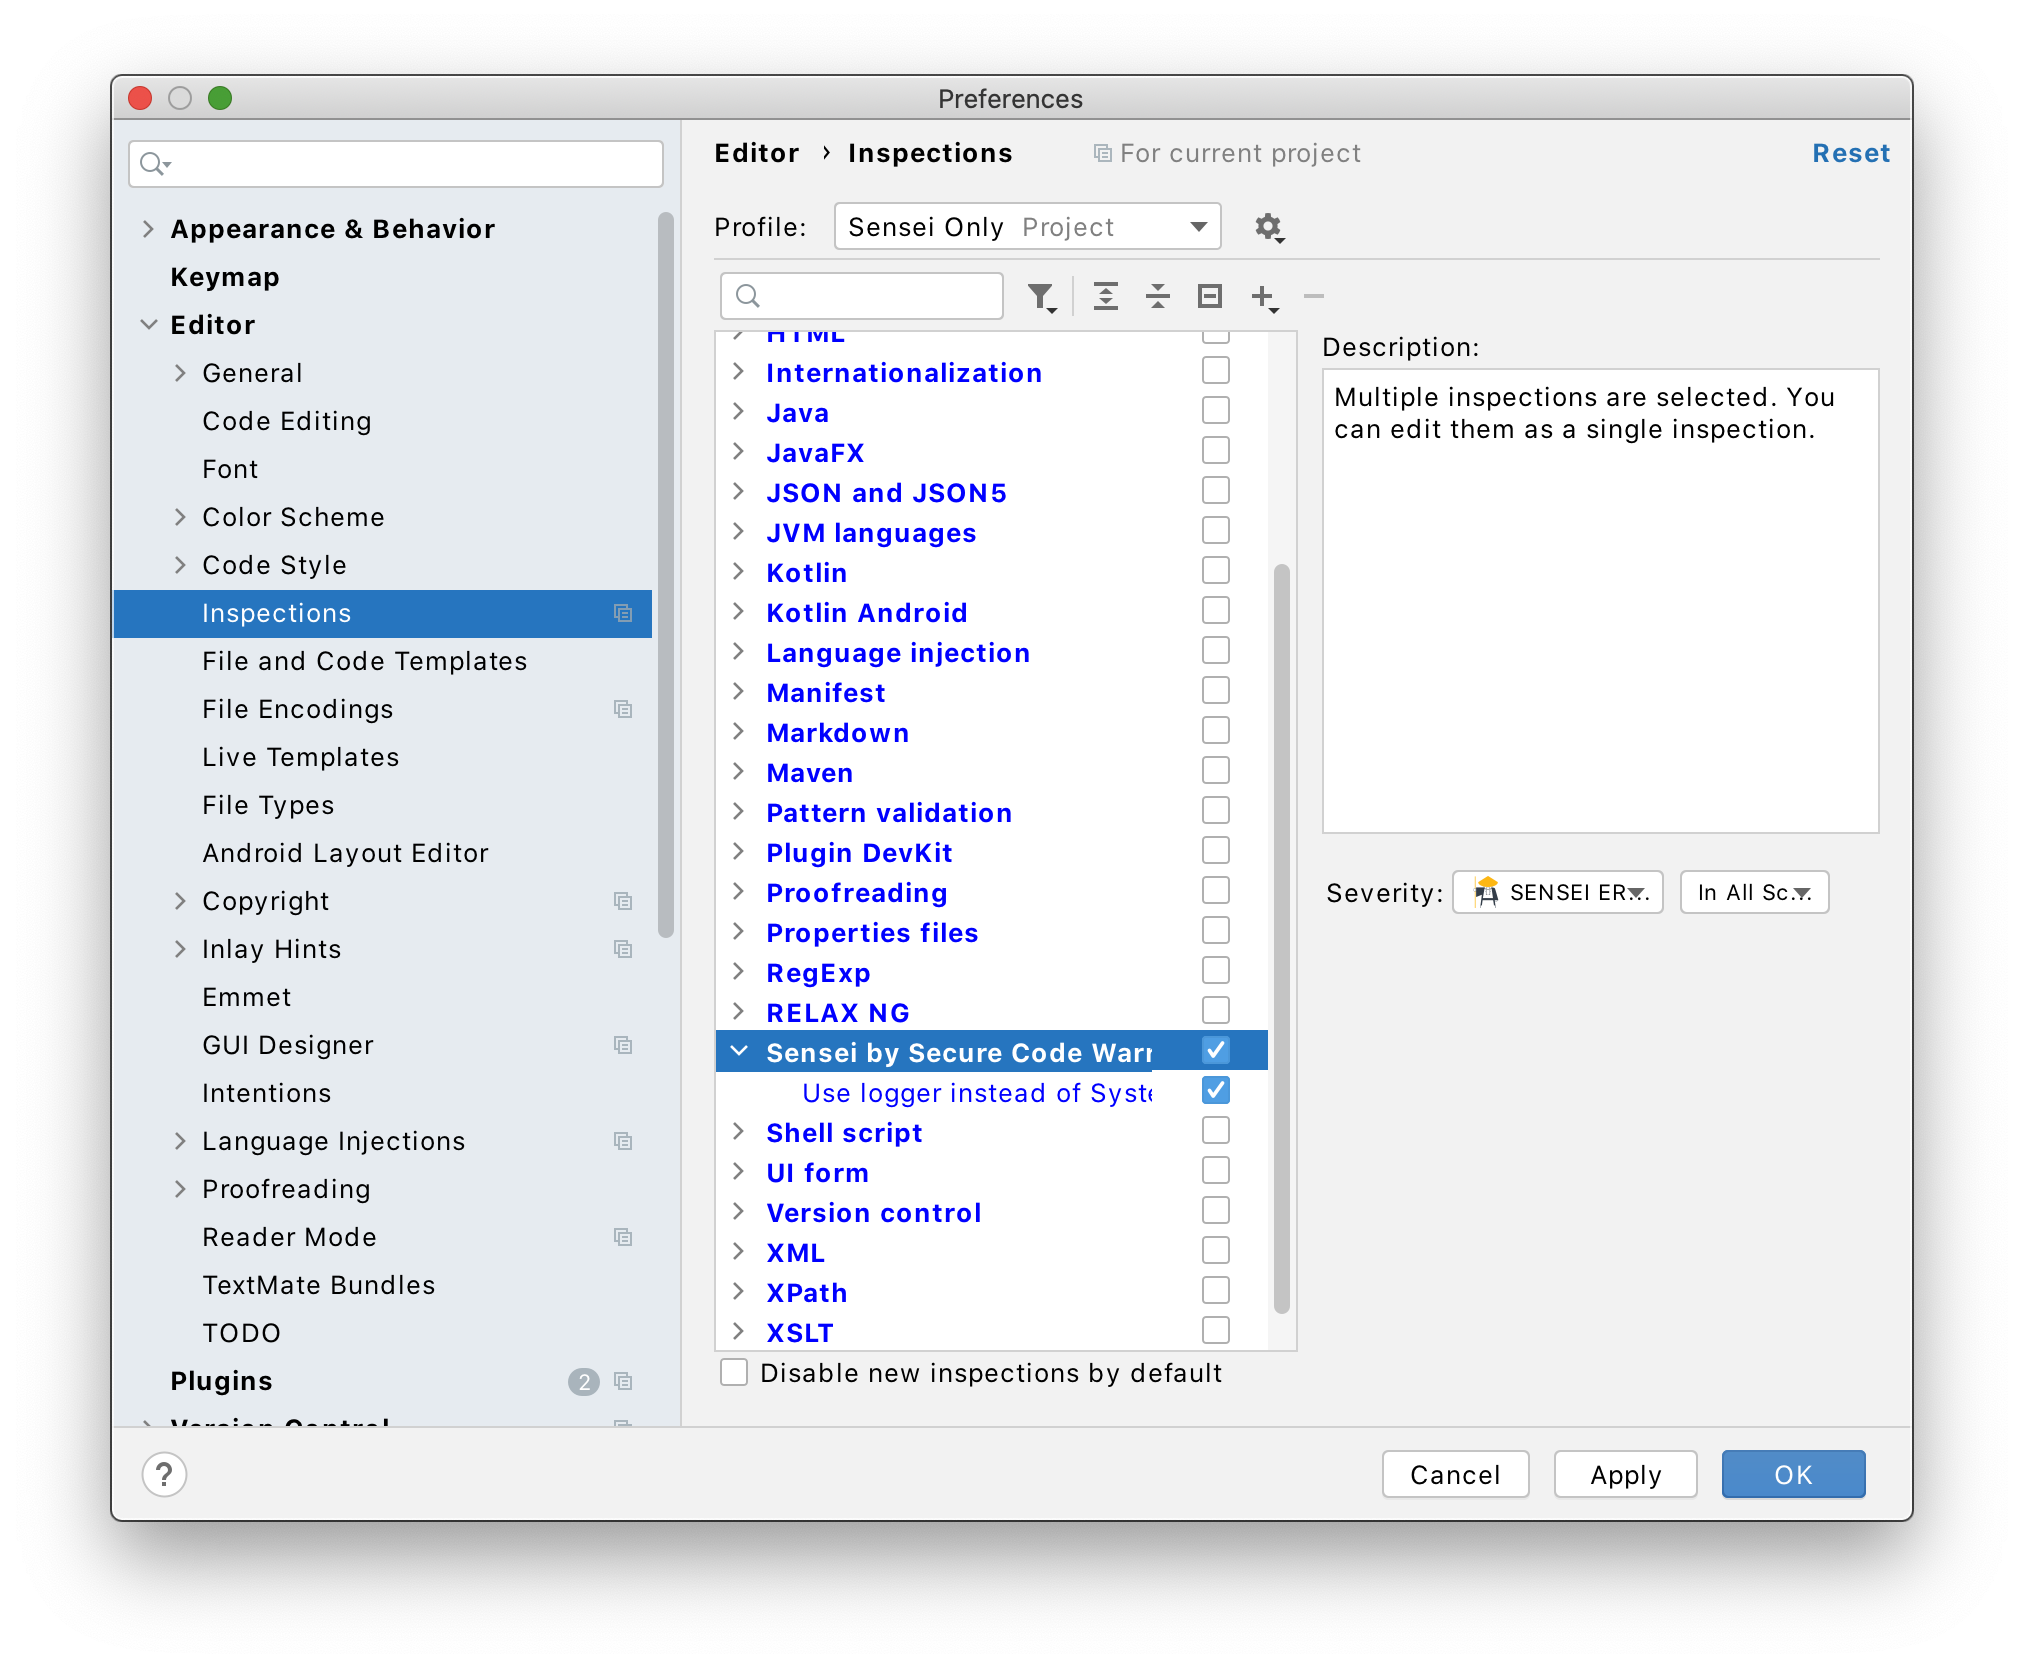
When running the headless scan, be sure to choose the profile with the Sensei inspections. The newly created profile can also be exported so it can be used from another location and not just from the project directory.
Output
Running Sensei headlessly will result in two types of output, one created by IntelliJ (xml by default)
and an output.json file created by Sensei.
The output.json created by Sensei includes the scan results, what recipes are used to scan and
some metadata information like a timestamp and on what branch the scan happened.
{
   "scan_results": [
      {
            "recipe_id": "c982ea81-2447-4d25-801d-151825edd924",
            "cookbook_id": "5225232b-e0cb-49fd-82df-463db3a3fdd1",
            "marking_count": 2,
            "compliant_marking_count": 0
      }
   ],
   "metadata": {
      "schema_version": "1.0.0",
      "project_name": "DemoProject",
      "branch": "main",
      "timestamp": 1616146601
   },
   "recipe_information": [
      {
            "cookbook_id": "5225232b-e0cb-49fd-82df-463db3a3fdd1",
            "recipe": [
               {
                  "recipe_id": "c982ea81-2447-4d25-801d-151825edd924",
                  "severity": 1,
                  "is_enabled": true,
                  "sub_category": "",
                  "recipe_name": "Don't use System.out.println use a logger instead",
                  "category": ""
               }
            ],
            "cookbook_location": "project://.sensei",
            "cookbook_name": "project"
      }
   ]
}